Wednesday 23 December 2015
Add Widgets to your Blog in 5 Steps
Hello mate,
In this post, I am posting about Add Widgets to your Blog in 5 steps.
Widgets are the type of virtual Gadgets which are used to enhance the usability.
In your blog Widgets can be added, so that it will enhance your Blog's features without using programming codes.
Adding Widgets to your Blog is a very easy task to do.
Follow the simple steps to add the widgets
Step 1: Open blogger.com
Step 2: Click Layout option
Select the Layout option in the Blogger dashboard.
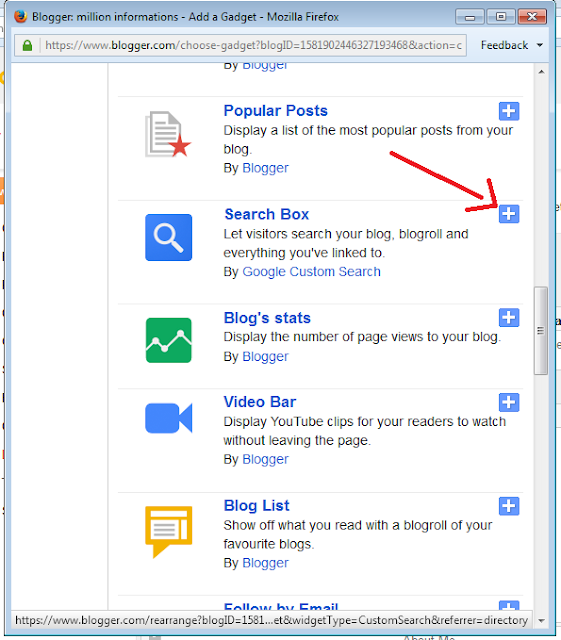
Step 3: Click Add a Gadget
Step 4: Select a Gadget or Widget
There are many widgets already exists in the blogger, so select the required Widget.
Step 5: Click Save
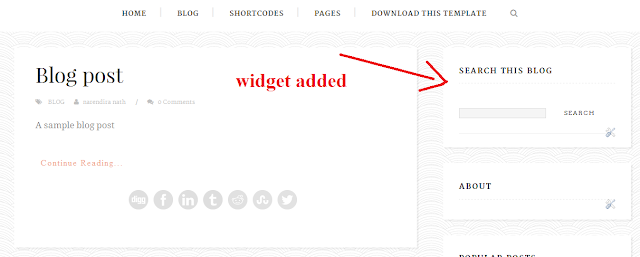
The Widget is now added to the Blog.
Finally, Click the Save Arrangement.
Then view the Blog
Changing the position of the added Widget in the Blog
The position of the Widget can be simply dragged to the desired location.
Click the desired widget and move to the desired Location
View the Blog to see the changes
Removing Widget's from the Blog
If you wish you can remove the widgets from the Blog.
To Remove a Widget, go to the Layout and click Edit option near the desired Widget.
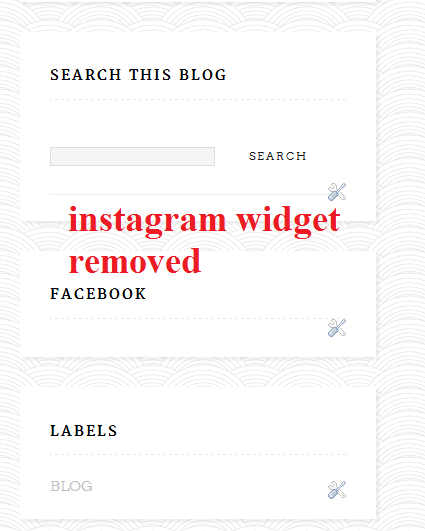
For example in this post I am going to remove the Instagram Widget, so click the EDIT option near the Instagram as shown in the Image
Then click the Remove option.
Then again click OK option.
Then save the arrangement and click the View Blog option to view the changes.
Now you have successfully learned to add the Widgets in your Blog and the way of removing them.
In the next post, I will post about How to create Pages and the difference between pages and posts.
Keep Blogging !!!
Subscribe to:
Post Comments
(
Atom
)


No comments :
Post a Comment